
Slot Online: Menghindari Jebakan Umum yang Ditemui Pemain merupakan judul dari sebuah artikel kami kali ini. Kami ucapkan Selamat datang di www.candymaking.net, Sebuah pena & Slot Online berpadu. Pada kesempatan kali ini, kami masih bersemangat untuk membahas soal Slot Online: Menghindari Jebakan Umum yang Ditemui Pemain. Pendahuluan Slot online telah menjadi fenomena mendunia, menarik jutaan…

Slot Online: Fitur Interaktif yang Revolusioner
Slot Online: Fitur Interaktif yang Revolusioner merupakan judul dari sebuah artikel kami kali ini. Kami ucapkan Selamat datang di www.candymaking.net, Sebuah pena & Slot Online berpadu. Pada kesempatan kali ini,kami masih bersemangat untuk membahas soal Slot Online: Fitur Interaktif yang Revolusioner. Kesimpulan Slot online telah menjadi fenomena dalam dunia perjudian daring. Memikat jutaan pemain dengan…

Kebenaran Tentang Slot Online: Antara Mitos dan Fakta
Kebenaran Tentang Slot Online: Antara Mitos dan Fakta merupakan judul dari sebuah artikel kami kali ini. Kami ucapkan Selamat datang di www.candymaking.net, Sebuah pena & Slot Online berpadu. Pada kesempatan kali ini, kami masih bersemangat untuk membahas soal Kebenaran Tentang Slot Online: Antara Mitos dan Fakta. Slot online telah menjadi fenomena yang mendominasi dunia perjudian…

Histori Slot Online: Dari Awal Mula Hingga Sekarang
Histori Slot Online: Dari Awal Mula Hingga Sekarang merupakan judul dari sebuah artikel kami kali ini. Kami ucapkan Selamat datang di www.candymaking.net, Sebuah pena & Slot Online berpadu. Pada kesempatan kali ini, kami masih bersemangat untuk membahas soal Histori Slot Online: Dari Awal Mula Hingga Sekarang. Permainan slot telah berkembang dari mekanisme sederhana menjadi salah…

Slot Online: Menentukan Pemenang, Bagaimana Caranya?
Slot Online: Menentukan Pemenang, Bagaimana Caranya? merupakan judul dari sebuah artikel kami kali ini. Kami ucapkan Selamat datang di www.candymaking.net, Sebuah pena & Slot Online berpadu. Pada kesempatan kali ini,kami masih bersemangat untuk membahas soal Slot Online: Menentukan Pemenang, Bagaimana Caranya? Di dunia permainan kasino online, slot merupakan salah satu jenis permainan yang paling populer….

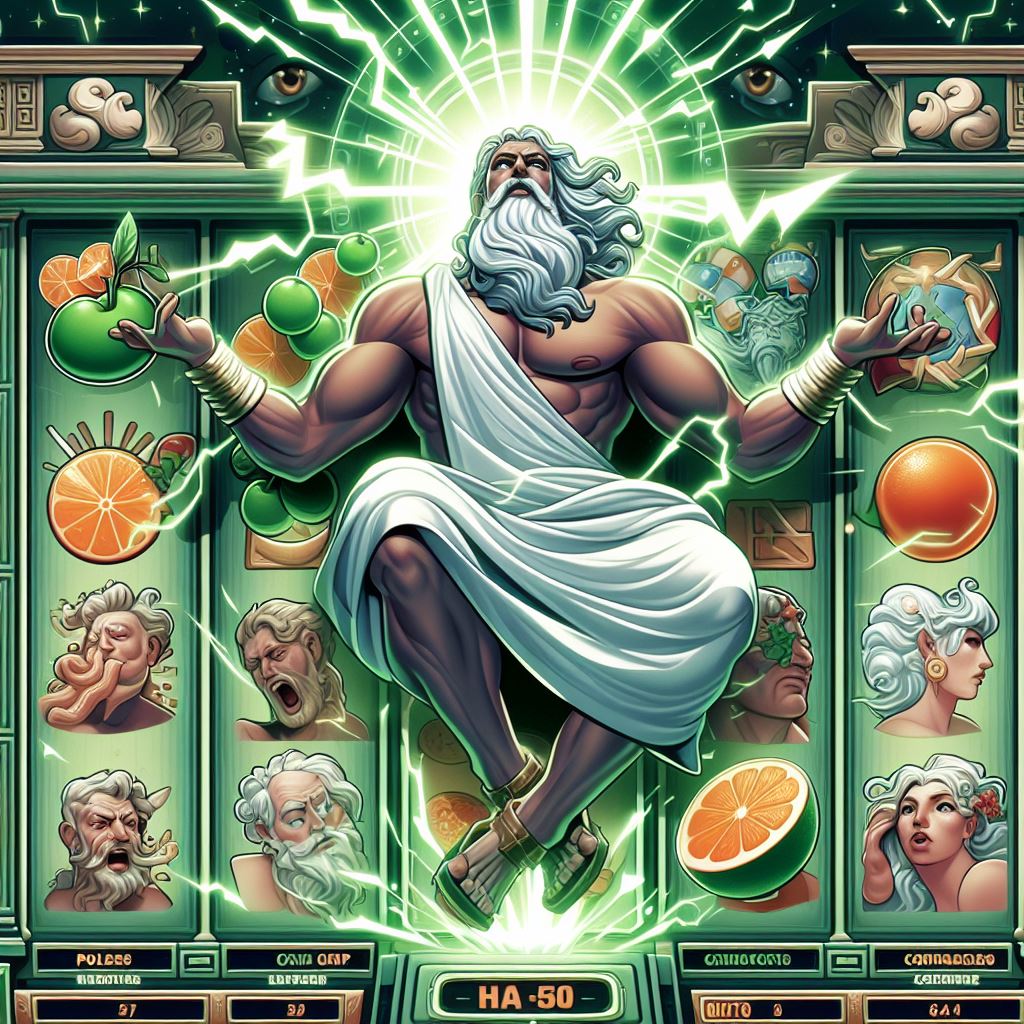
Evolusi Zeus Slot Online dalam Dunia Perjudian dan Sejarahnya
Evolusi Zeus Slot Online dalam Dunia Perjudian dan Sejarahnya merupakan judul dari sebuah artikel kami kali ini. Kami ucapkan Selamat datang di www.candymaking.net, Sebuah pena & Slot Online berpadu. Pada kesempatan kali ini, kami masih bersemangat untuk membahas soal Evolusi Zeus Slot Online dalam Dunia Perjudian dan Sejarahnya. Pendahuluan Zeus Slot Online telah menjadi salah…
Kritik dan Pujian Bermain Zeus Slot Online
Kritik dan Pujian Bermain Zeus Slot Online merupakan judul dari sebuah artikel kami kali ini. Kami ucapkan Selamat datang di www.candymaking.net, Sebuah pena & Slot Online berpadu. Pada kesempatan kali ini, kami masih bersemangat untuk membahas soal Kritik dan Pujian Bermain Zeus Slot Online. Pengantar Dalam dunia permainan slot online, Zeus Slot menempati posisi yang…

Apakah Slot Zeus Layak? Review Mendalam untuk Pemain Serius
Apakah Slot Zeus Layak? Review Mendalam untuk Pemain Serius merupakan judul dari sebuah artikel kami kali ini. Kami ucapkan Selamat datang di www.candymaking.net, Sebuah pena & Slot Online berpadu. Pada kesempatan kali ini, kami masih bersemangat untuk membahas soal Apakah Slot Zeus Layak? Review Mendalam untuk Pemain Serius. Dalam dunia yang semakin berkembang pesat di…

Slot Zeus: Menemukan Kekuatan di Gulungan yang Tak Terduga
Slot Zeus: Menemukan Kekuatan di Gulungan yang Tak Terduga merupakan judul dari sebuah artikel kami kali ini. Kami ucapkan Selamat datang di www.candymaking.net, Sebuah pena & Slot Online berpadu. Pada kesempatan kali ini, kami masih bersemangat untuk membahas soal Slot Zeus: Menemukan Kekuatan di Gulungan yang Tak Terduga. Slot Zeus adalah salah satu permainan slot…
Slot sebagai Seni Menggoda: Memburu Jackpot
Slot sebagai Seni Menggoda: Memburu Jackpot merupakan judul dari sebuah artikel kami kali ini. Kami ucapkan Selamat datang di www.candymaking.net, Sebuah pena & Slot Online berpadu. Pada kesempatan kali ini,kami masih bersemangat untuk membahas soal Slot sebagai Seni Menggoda: Memburu Jackpot. Pendahuluan slot online telah menjadi simbol dari dunia perjudian, menggoda pemain dengan janji-janji kemenangan…